Login via Twitter/X
How to configure OAuth2 login via Twitter (a.k.a. “X”)
To let your users sign in with their Twitter (X) account, follow the below steps.
- Log in to the Twitter Developer portal dashboard.
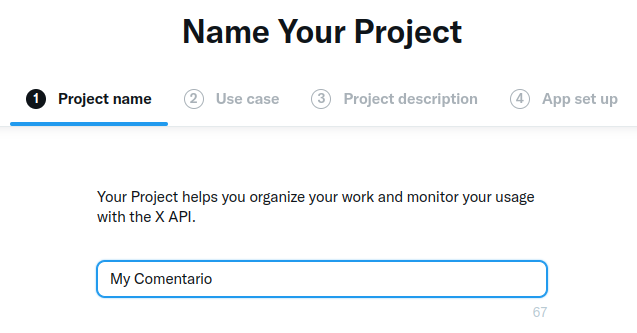
- Click on Create Project and choose a project name:
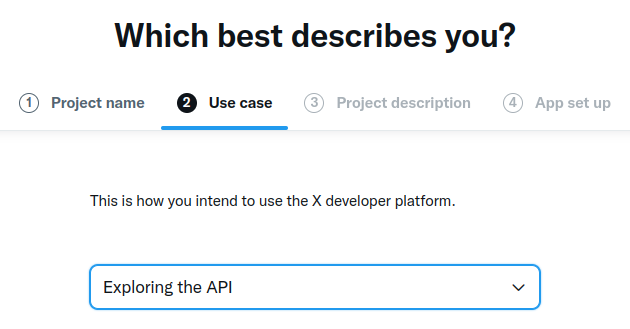
- Click Next and select the appropriate use case:
- Click Next and enter project description:

- After clicking Next you’ll enter the Application properties screen:

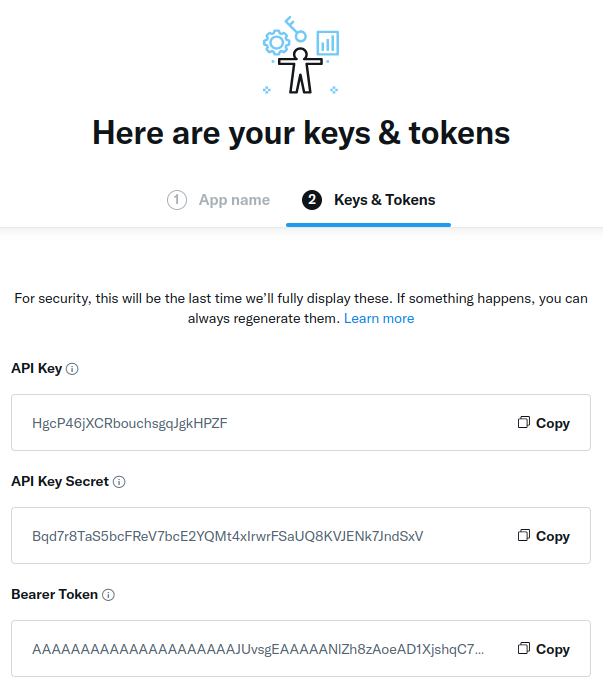
- Click Next once again and you’ll be presented API keys. Store them in a safe place for future reference:
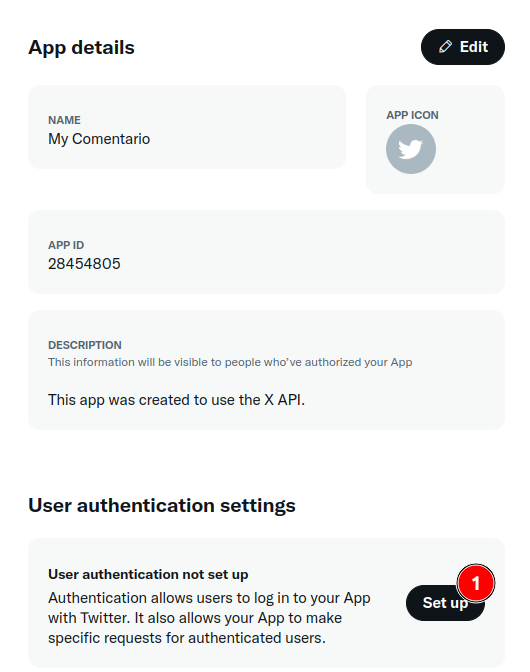
- In app details, under User authentication settings, click Set up:
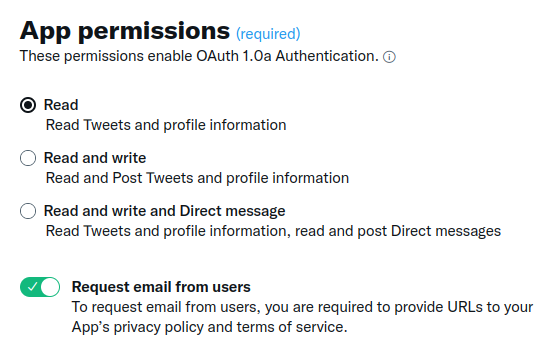
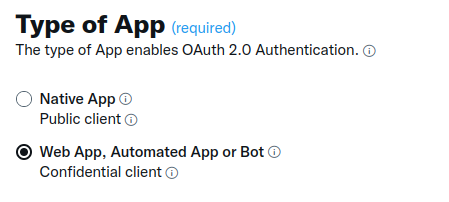
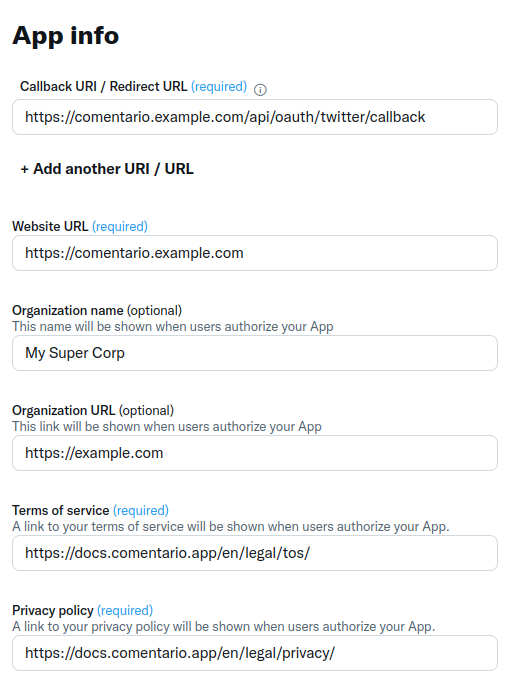
- Enter the following settings:
- Update the secrets configuration with the above data (API Key and API Key Secret; Bearer Token is not used):
...
idp:
  twitter:
    key:    HgcP46jXCRbouchsgqJgkHPZF
    secret: Bqd7r8TaS5bcFReV7bcE2YQMt4xIrwrFSaUQ8KVJENk7JndSxV
...
- Restart Comentario. You should now see Twitter under Configured federated identity providers on the Static configuration page of the Administration UI.
- Still in the Admin UI, navigate to the desired domain properties and tick off Twitter on the Authentication tab, then click Save.
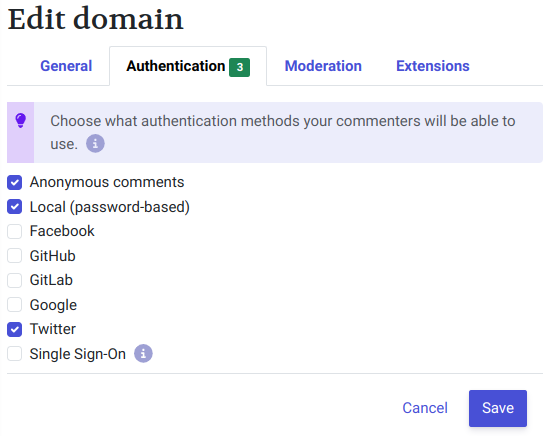
That’s it! Your users should now be able to login using the Twitter button in the Login dialog.

